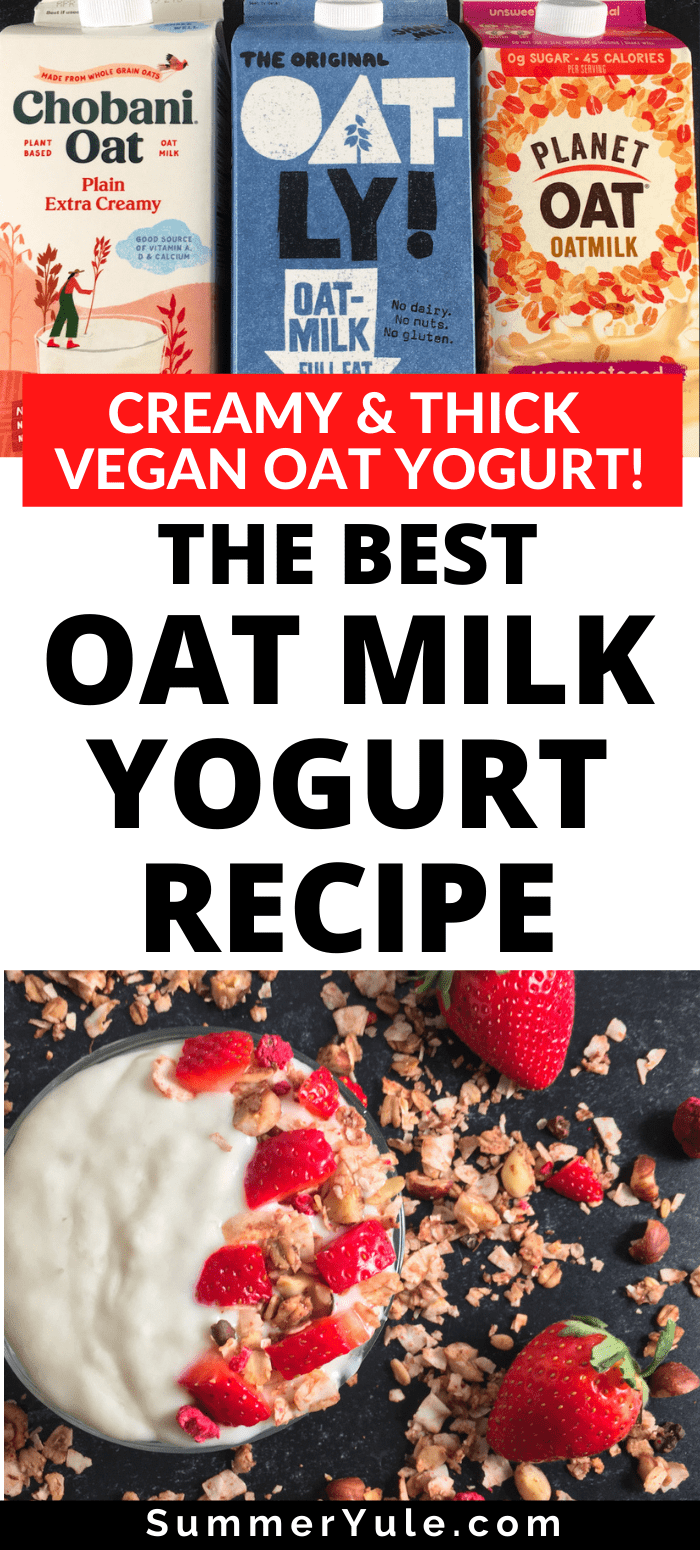
Learn how to make oat yogurt! You can make this oat milk yogurt recipe without a special yogurt maker and without powder yogurt starter. Get easy step-by-step instructions for making Instant Pot oat milk yogurt, or make it on the stove. This homemade vegan yogurt recipe is made with non dairy milk, and will save money. Why not try to make yogurt with oat milk today?

Want to save this post?
Enter your email below and we'll send it straight to your inbox. Plus you'll get great new recipes from us every week!
This homemade oat milk yogurt Instant Pot recipe is perfect if you like fermented oat yogurt, but dislike the cost. I think you’ll find that this easy yoghurt is the best oat milk yogurt around. You don’t even need a special yogurt starter culture to make it!
I’ve made a variety of plant based yogurts in the past. Soy milk yogurt follows the directions of dairy milk yogurt fairly closely. Coconut milk yogurt comes out delicious and creamy.
You can make 2-ingredient almond milk yogurt easily using the almond milk specified in my Instant Pot Almond Milk Yogurt recipe. Unfortunately, making oatmilk yogurt presents some new challenges.
First of all, oat milk yogurt tends to stay thin, regardless of the brand of oat milk you use. In my testing, I found that even the creamy protein oat milks don’t thicken into yogurt during the incubation period.
Second, oat milk yogurt tends to separate after incubating. What you get is a layer of thin liquid and a layer of grainy liquid. No bueno.
Luckily, there’s an easy way to resolve both of these issues. You must thicken your oat milk before you begin the fermentation process. Aside from making oat yogurt thick, the thickener will also help keep the yogurt from separating.
Read on to learn how to make the best creamy and thick oat yogurt!
Table of Contents
- 😋 Oat Yogurt Brands
- ⭐ Why make homemade oat milk yogurt?
- 🥘 Oat Milk Yogurt Ingredients
- 🍽 Yogurt Making Supplies
- ❓ Should you sterilize the jars for oat yogurt?
- 🔪 How to Make Oat Milk Yogurt (Stove)
- ⏲️ How to Make Oat Milk Yogurt (Instant Pot)
- 🥛 Why is my oat milk yogurt runny?
- 🌡️ Can you freeze oat yogurt?
- 🥣 How to Serve Oat Milk Yogurt
- 📋 Calories, Net Carbs, Protein
- 🤔 What’s the healthiest yogurt to eat?
- FAQs
- 👩🏻🍳 Recipes Using Yogurt
- 📖 Recipe Card
- 💭 Expert Tips from Dietitian Summer Yule
- 💬 Comments
😋 Oat Yogurt Brands
Does oat yogurt have calcium? Does oat yogurt have protein?
All oat yogurt is not created equal. The answer to this question will depend on the brand of oat milk yogurt you buy, or the brand of oat milk used to make yogurt.
Here is the nutrition information for oat yogurt plus some popular competitor products (per 5.3 ounce, 150g serving):
| Brand | Calories | Net Carbs (g) | Protein (g) | Calcium (% DV) | Added Sugar (g) |
|---|---|---|---|---|---|
| Oatly Oatgurt (plain) | 160 | 18 | 3 | 15 | 6 |
| Chobani Oat Yogurt (peach) | 130 | 22 | 6 | 0 | 15 |
| Silk Oat Yeah Yogurt (Vanilla) | 120 | 18 | 3 | 10 | 9 |
| Chobani Greek Yogurt (nonfat, plain, dairy) | 80 | 6 | 14 | 15 | 0 |
| Homemade Oat Yogurt (made with ½ cup dry rolled oats) | 150 | 23 | 5 | 0 | 0 |
| Kite Hill Greek Style Yogurt (plain, unsweetened) | 120 | 3 | 15 | 4 | 0 |
The above nutrition information was correct at the time of writing, and is subject to change. Some brands of oat yogurt don’t offer a plain variety, and none of the most popular brands are Greek yogurt. Kite Hill Greek yogurt is a mixture of almond and soy.
Some people choose to make homemade oat milk for oat yogurt, but rolled oats don’t provide calcium. Also, they are relatively low in protein.
It’s true that oatmilk from the store is generally an ultra-processed food with various additives and anti-nutrients. However, many whole plant foods also contain anti-nutrients, and that doesn’t mean we should necessarily avoid them. If you are using a plant-based alternative instead of dairy foods, you want the options that provide calcium and protein.
⭐ Why make homemade oat milk yogurt?
Why make oat yogurt? Here are the benefits of making your own vegan oat yogurt:
- Better nutritionally: Oat yogurt from the store is typically low in calcium, low in protein, or both. Additionally, it may be high in added sugar. If you choose the right oat milk, you can make high calcium, high protein oat yogurt.
- Easy oat yogurt: We’re using store-bought oat milk to make yogurt, which makes life easier. Not only do you get more vitamins and minerals, there’s also no fussy soaking of oats involved.
- Cheap vegan yogurt: In my area, you can get an individual container of dairy yogurt for 99 cents, while oat yogurt costs twice as much ($1.99). At about $5 per 6 cups, protein oat milk is much less expensive than premade oat yogurt. This brings the cost of your homemade oat yogurt down to about dairy yogurt levels.
- Vegan probiotic yogurt: This homemade oat milk yogurt has live, active yogurt cultures. These beneficial bacteria (AKA probiotics) help your GI system to be healthy.
- Plant based protein: Protein oat yogurt (proatgurt? Haha) is not currently available in stores. If you want oat yogurt with a protein boost, you need to DIY.
- Low sugar: Even plain versions of oat yogurt contain a significant amount of added sugar. Choose an oatmilk with low sugar to make low sugar oat yogurt.
- Meal prepping: You can use homemade oat yogurt for breakfast meal prep. Just add some fruit (and maybe some toast) for a quick weekday breakfast.
- Special diets: This plant-based alternative to yogurt fits dairy free, vegetarian, and vegan diets. It may also fit some relaxed low carb diets.
- DELICIOUS: Oat milk yogurt is mild and only a little tangy. It’s a tasty way for those who need to avoid dairy to enjoy yogurt!
🥘 Oat Milk Yogurt Ingredients
What do you need to make oat yogurt in the Instant Pot? Add these to your shopping list:
- 3½ cups oat milk: Just about any oat milk will work with this recipe, but the yogurt consistency will vary depending on the type you start with.
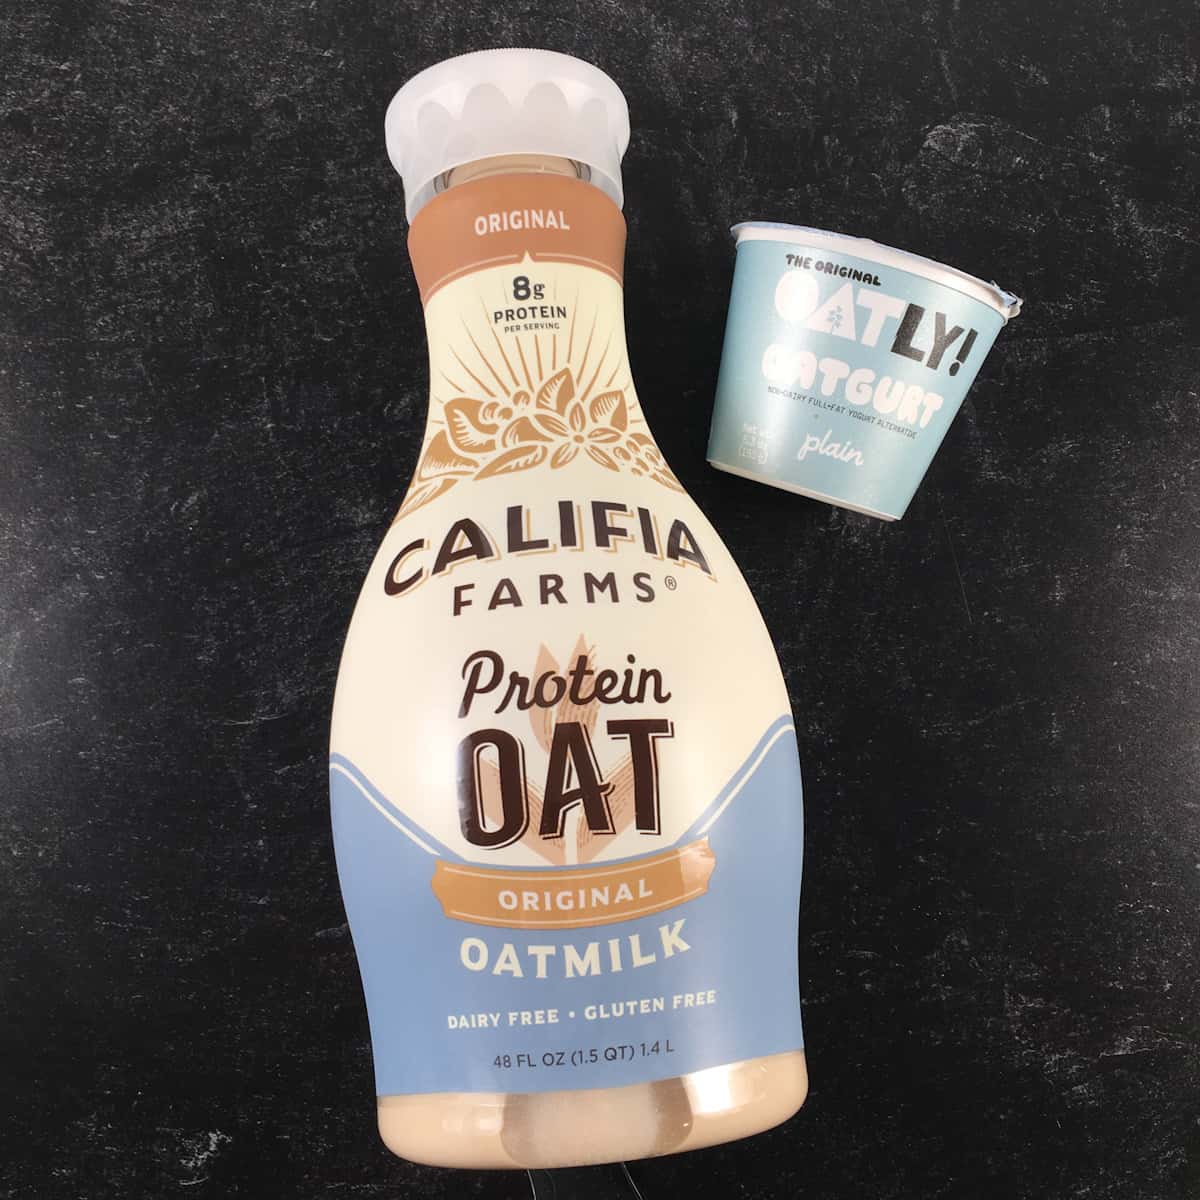
- 2 tablespoons plain, unsweetened oat yogurt with live, active cultures: Make sure to use plain yogurt, not sweetened fruit yogurt! Make sure the yogurt contains live, active cultures since this is serving as your yogurt starter. I tested Oatly plain oat yogurt and Kite Hill Greek yogurt (non-oat), and they both work.
- 2 teaspoons xanthan gum: This is a vegan thickener for your yogurt. It also helps stabilize the oat milk mixture, so it doesn’t separate while fermenting.
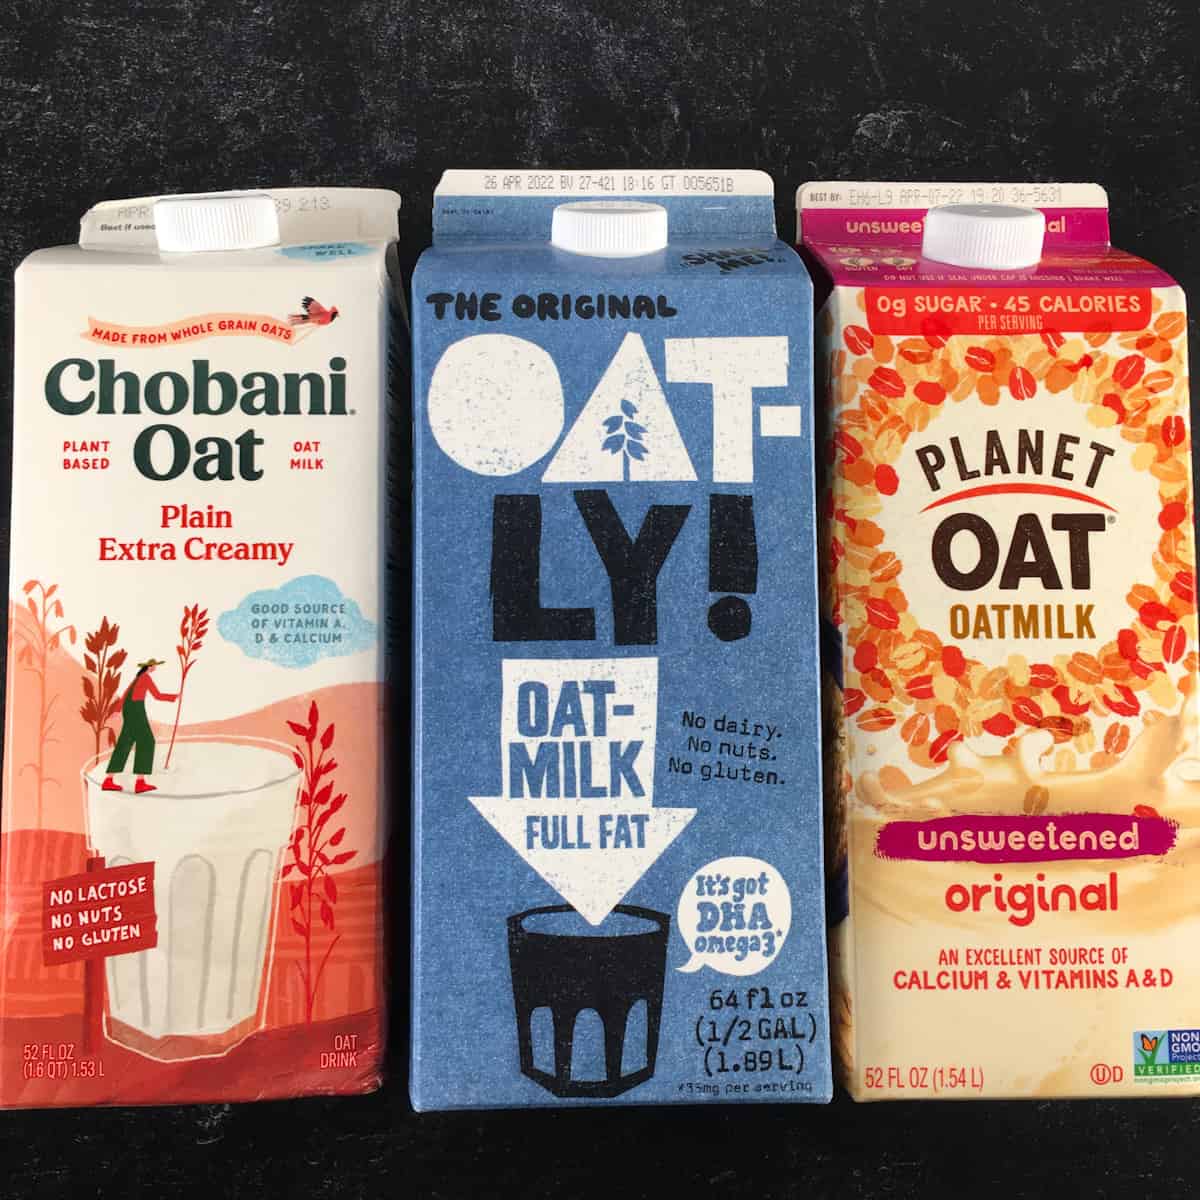
Nondairy milk is similar to dairy (cow’s milk, goat milk, etc.) in that the type you use will impact the yogurt results. I tested several oat milks for this recipe.
IMVHO, Chobani Extra Creamy Plain Oat Milk and Original Oatly Full Fat Oat Milk made the best oat yogurt. Califia Protein Oat Oatmilk (original flavor) is my top pick for making oat yogurt in terms of nutrition. However, the Califia oat yogurt turned a little darker and separated a little more than the others.
You can also make oat yogurt with one of the low calorie oat milk options. I tested unsweetened Planet Oat oat milk, which is 45 calories per cup. I found this oatmilk produced a more gelatinous yogurt than the creamier oat milks. However, though more gelled, it still worked.
Save your time and skip making homemade oat milk. It’s inferior nutritionally compared to both dairy milk and most oat milks from the store.
🍽 Yogurt Making Supplies
Here's the kitchen equipment you need to make oat milk yogurt on the stove:
- A candy thermometer and whisk: Most homemade yogurt methods involve a candy thermometer, and this one is no exception. Getting the temperatures wrong is one of the most common mistakes in yogurt making, so don’t skip the thermometer!
- A wide-mouth quart canning jar with a rim and lid: A glass mason jar serves as the vessel the milk incubates in and can go straight in the fridge when done. Using a wide-mouth jar is not critical, but it does make filling the jar easier.
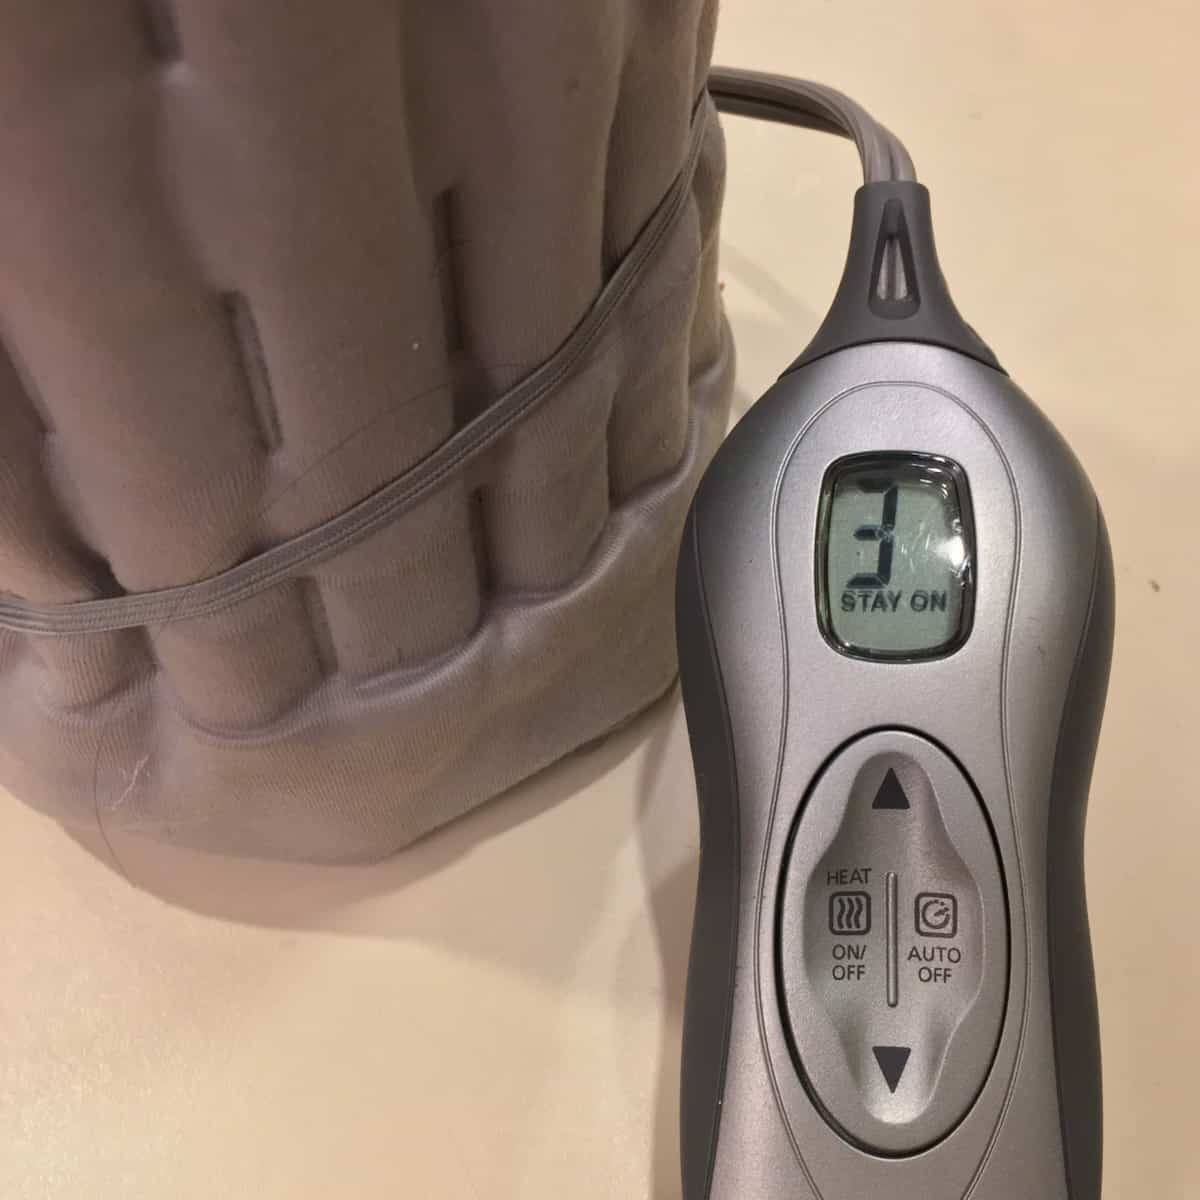
- A heating pad with adjustable heat that stays on: Your yogurt needs to stay at a constant temperature of 100-110F (37.8-43.3C) during the incubation period. Wrapping a heating pad around your jar can take the place of a yogurt maker. However, you need to be able to disable any “auto-off” settings, since it needs to stay on for 8-12 hours.
My heating pad has five heat settings. I learned (with a little investigative work) that the medium setting (setting 3) kept things at around 110F. Information for the temperature provided by your heating pad’s settings may be available online.
To make oat milk yogurt in an Instant Pot, you need an Instant Pot with the yogurt function instead of a heating pad. I find this even easier than the heating pad method, and the results are more consistent.
I use a Ninja Foodi Deluxe XL 8-quart to make oatgurt. Other Instant Pots, such as the Crock-Pot Express 6-Quart Pressure Cooker, can make oat milk yogurt too. If your multi-cooker is small, you may need to halve the recipe.
❓ Should you sterilize the jars for oat yogurt?
It’s not possible to sterilize many yogurt makers with plastic parts. If you’ll be making oat yogurt on the stove, you can sterilize the jar you’ll be incubating it in. Let the sterilized jar cool to 110F (or below) before filling with the milk and yogurt culture.
🔪 How to Make Oat Milk Yogurt (Stove)
To make oat milk yogurt, heat the oat milk in a small pot to 180F (82C), whisking frequently. As it heats, scatter 1 teaspoon of xanthan gum over the milk at a time and whisk it in. You want it to be smooth, with no tapioca-like lumps.
Use a candy thermometer to keep a careful eye on the temperature. Take the milk off of the heat when it reaches 180F (82C). The mixture will be bubbly and look thicker.
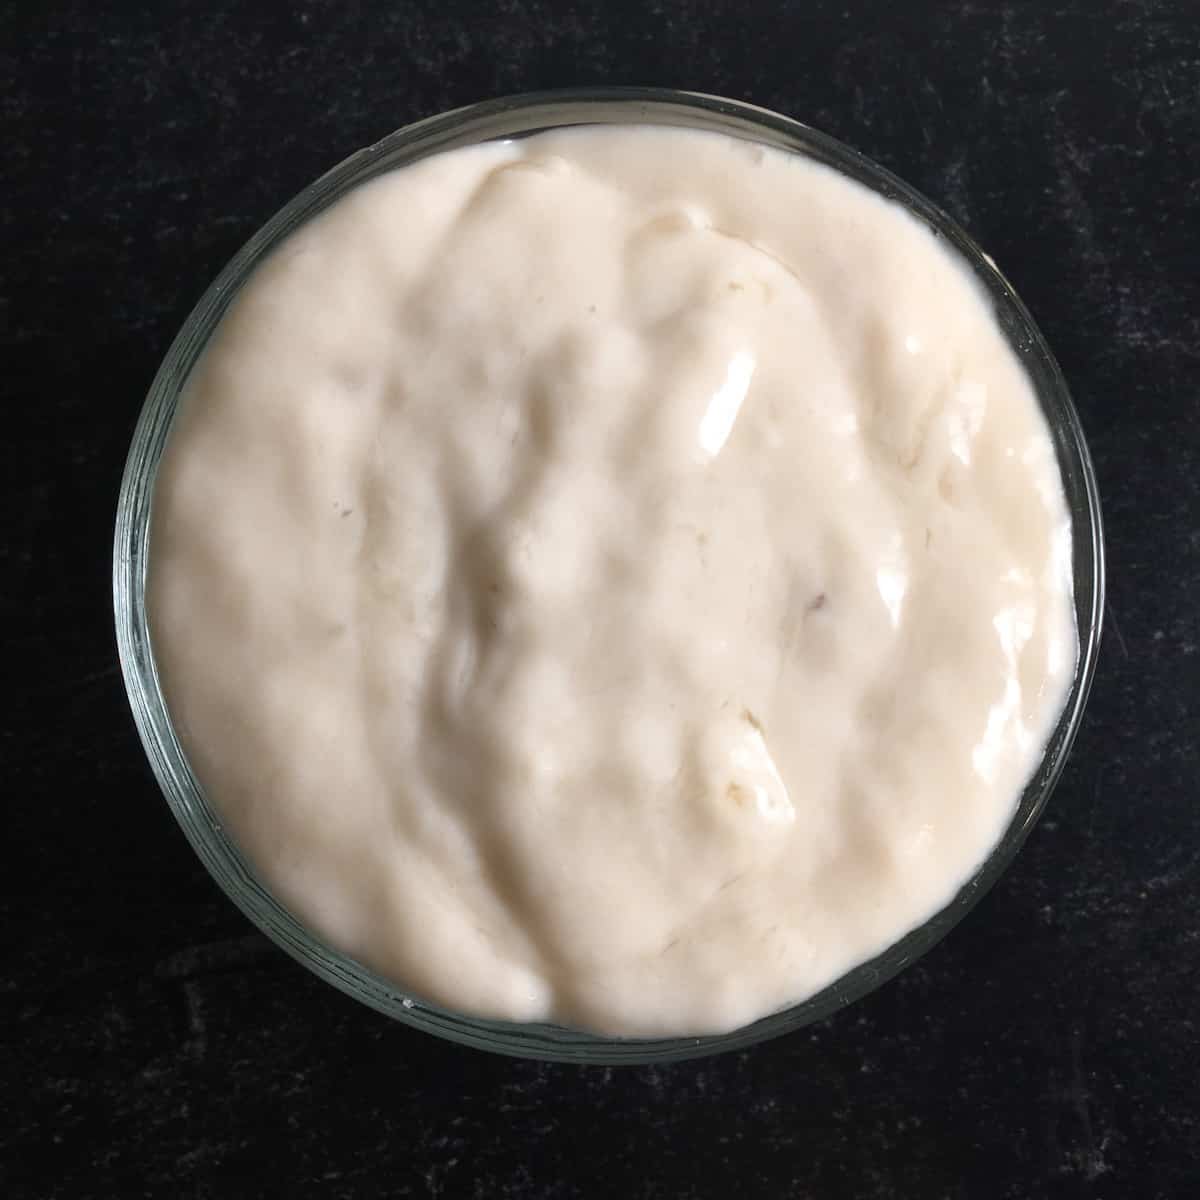
This is about as thick as your oat yogurt will get. Make sure it is thickened to your liking before continuing with the recipe.
Let the oat milk cool to the 100-110F (37.8-43.3C) range, whisking occasionally. Keep an eye on your candy thermometer to ensure the milk does not get too cool. You can speed this process by submerging the base of the pot in a shallow bowl of ice water.
Remove 1 cup of warm oat milk from the pot and whisk the oat yogurt in. When the milk returns to a smooth consistency, whisk the 1 cup back into the pot.
(Tip! Always add your cultures to a smaller amount of the warm milk, and then whisk this smaller amount into the larger pot. This helps prevent lumpy oat yogurt.)
Pour your oat milk/yogurt mixture into a 4-cup wide-mouth canning jar. (The milk should still be in the 100-110F/37.8-43.3C range.) Put the lid and rim on the jar.
Wrap the jar in a heating pad set to 110F (43.3C). (You may be able to find out which setting this is for your heating pad online.) Make sure that any auto-off settings on the pad are disabled.
Fermenting Oat Yogurt
Allow the oat yogurt to incubate for 9 hours. It should still be in the 100-110F (37.8-43.3C) range at the end of the incubation period. After incubating, put the jar in the fridge to let it cool and thicken a little more overnight (8-12 hours).
⏲️ How to Make Oat Milk Yogurt (Instant Pot)
To make oat yogurt in an Instant Pot, begin by pouring in the oat milk. With the lid off, set the pot to the "yogurt, high temperature" setting. Slowly whisk in the xanthan gum, forming a smooth and thickened mixture.
Allow the oat milk come to 180 degrees Fahrenheit (82C). Whisk it often so no skin forms across the top. Remove the inner pot of the Instant Pot from the heat when it reaches the right temperature.
Let the oat milk cool on the counter to 105-110F (40.6-43.3C), whisking occasionally. After cooling, remove one cup of milk and add in the yogurt, whisking until smooth. Then whisk this yogurt mixture back into the larger pot of milk, and put the inner pot back in the Instant Pot.
Put the lid on the Instant Pot but leave the vent open.
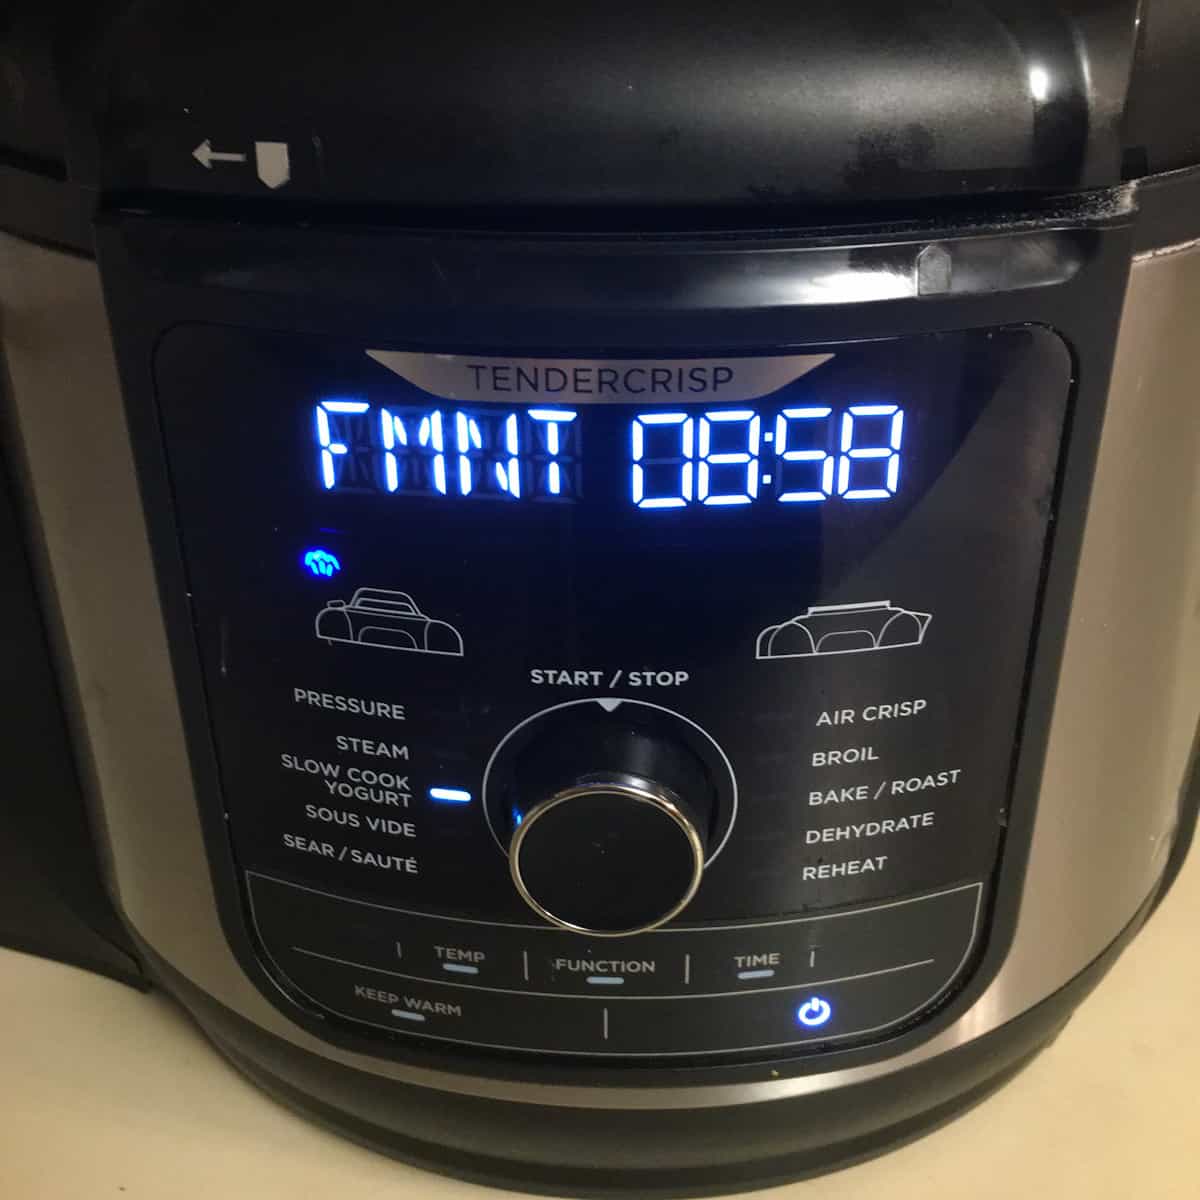
How long do you incubate oat milk yogurt in the Instant Pot? Incubate oat yogurt for 9 hours using the “low yogurt” setting of the Instant Pot. (This is the “ferment” setting on the Ninja Foodi.)
After the incubation period, put the yogurt in a glass mason jar with a lid. Refrigerate the oat yogurt overnight, and enjoy.
My #1 tip for oat yogurt making newbies is to ensure correct temperatures. Keeping the milk at the right temperature throughout this process helps to ensure you have success. I have destroyed numerous batches of yogurt in the past because I did not pay enough attention to temperature.
Oat yogurt is pretty mild, and not very tangy. If the liquid separates after fermenting, simply stir it back in. The xanthan gum should help prevent it from separating too much.
🥛 Why is my oat milk yogurt runny?
Your oat milk yogurt may be too thin if it wasn’t thickened enough before incubating. In this recipe, we’re using xanthan gum as a thickener.
You can thicken cold liquids with xanthan gum too. This means you may be able to fix a runny batch of oat yogurt after incubating with it.
Some other thickeners I’ve seen used for oat yogurt are gelatin and agar. Both gelatin and agar yogurt tend to have more of a gelatinous, Jell-O like consistency. Additionally, gelatin isn’t an option for vegans.
Starch, such as cornstarch, potato starch, and arrowroot powder can be used to thicken hot liquids. I find starches tend to leave yogurt with lumps, so they aren’t my preferred thickeners for this recipe. Well-whisked xanthan gum will give you a smooth oat milk yogurt with no lumps.
🌡️ Can you freeze oat yogurt?
Oat milk yogurt stays fresh in the fridge for 3-4 days, though it may last as long as 7-14 days. Though you can technically freeze oat yogurt, it will separate when thawed and is not recommended.
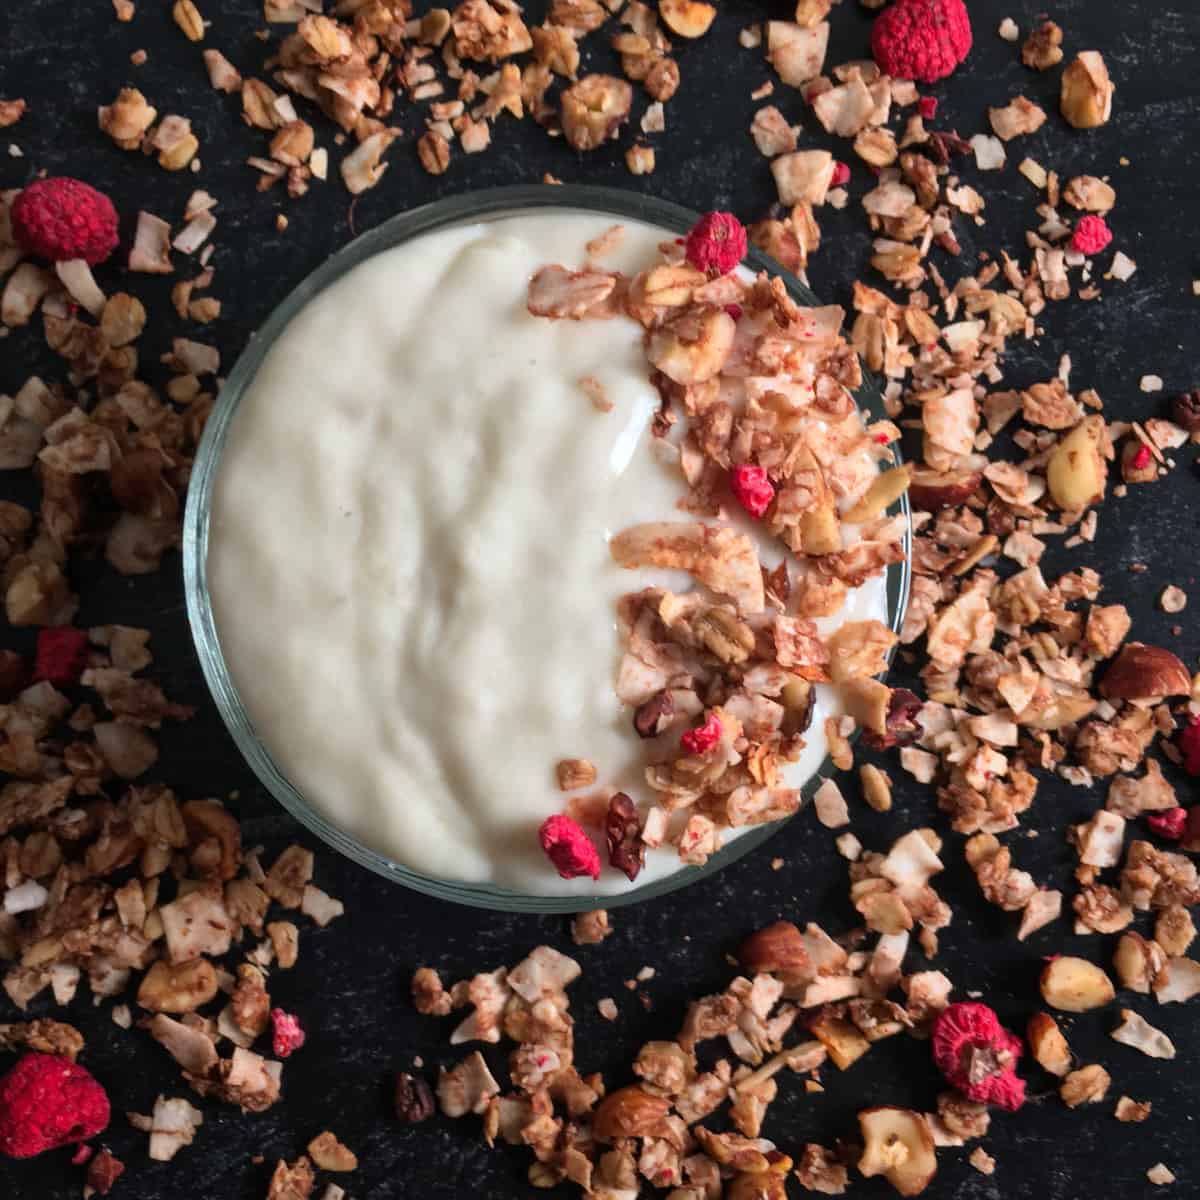
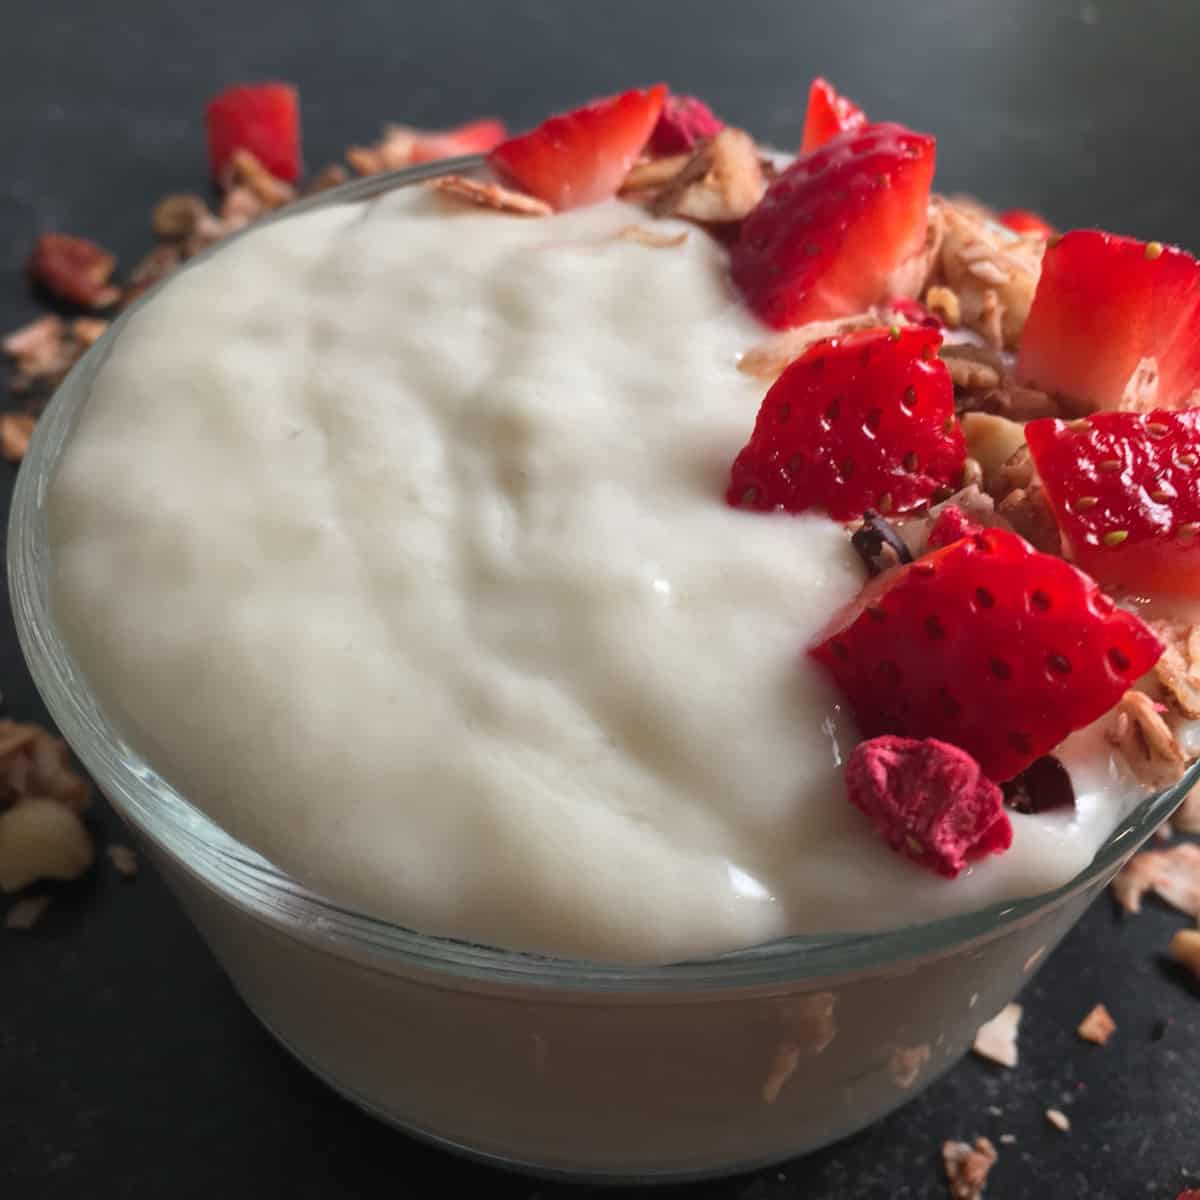
🥣 How to Serve Oat Milk Yogurt
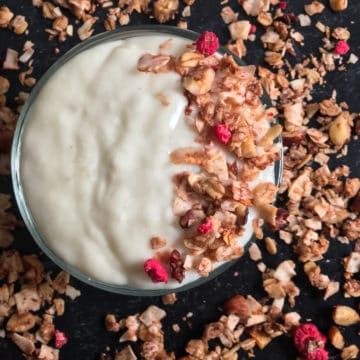
What goes with oat yogurt? In the photos, I’m enjoying this yogurt with strawberries and granola. The granola in the photos is my High Calorie Granola for Weight Gain, which is a vegan recipe.
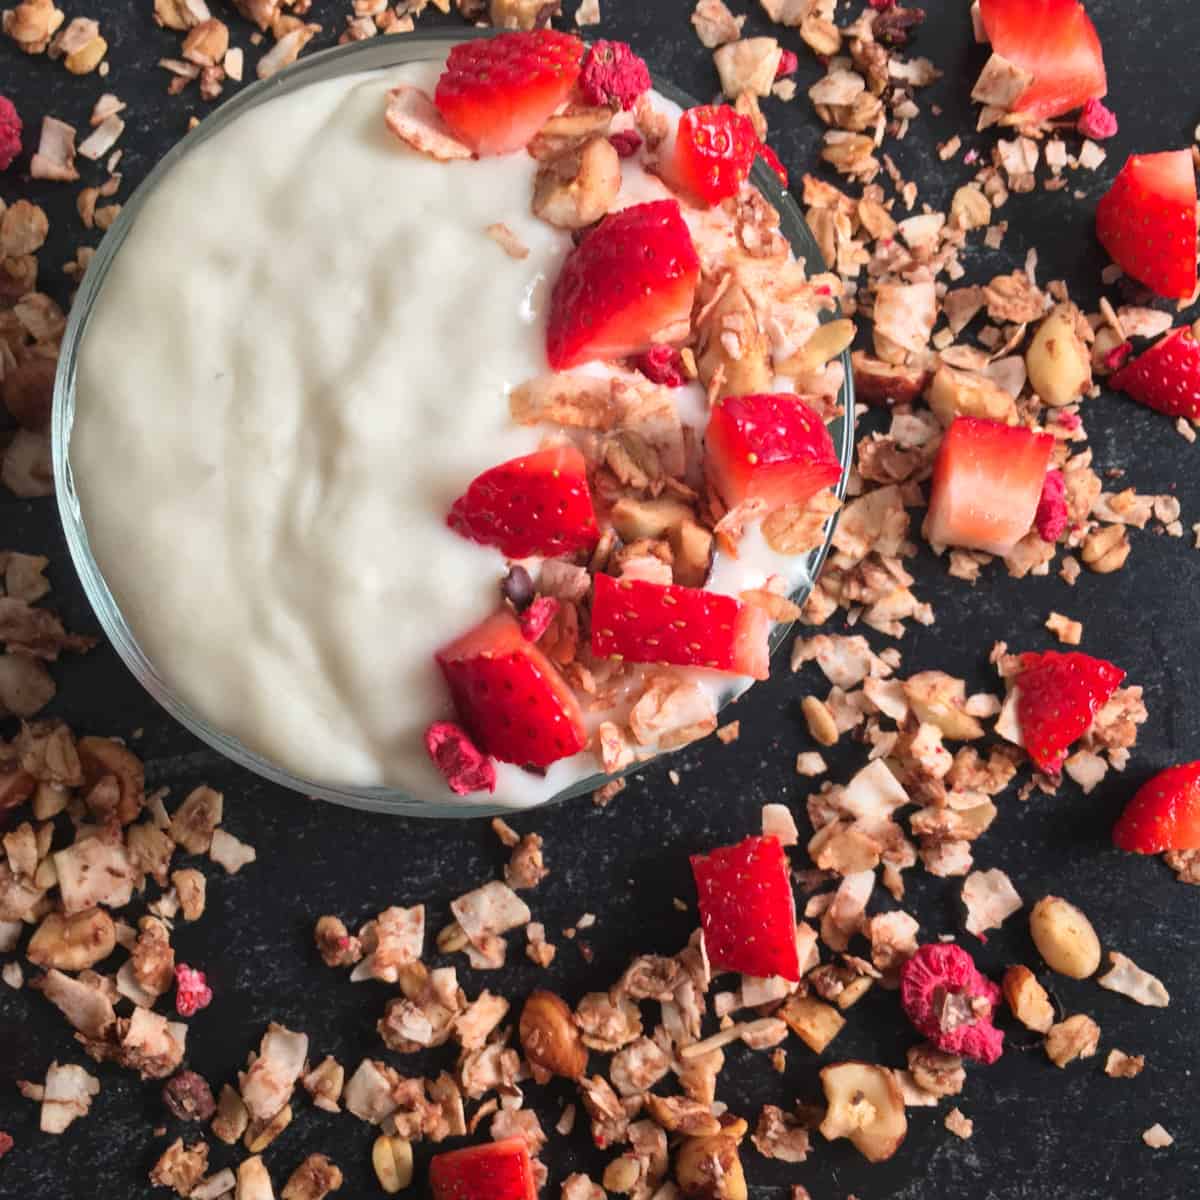
You can also serve this yogurt sweetened with other fruits, honey, or maple syrup. It can be flavored with vanilla extract, lemon extract, or other flavors. It’s great as a post-workout snack or breakfast side dish, similar to other types of yogurt.
📋 Calories, Net Carbs, Protein
One cup of Instant Pot almond milk yogurt has 139 calories, 3.4 grams net carbs, and 10.3 grams protein. In addition, this yogurt is an excellent source of calcium.
🤔 What’s the healthiest yogurt to eat?
My top pick for healthy yogurt goes to plain, unsweetened Greek dairy yogurt. Dairy yogurt provides high-quality protein, calcium, vitamin B12, and other essential nutrients in its natural food matrix. Like plant-based yogurt, dairy yogurt is low lactose and may be enjoyed by some with limited lactose tolerance.
Calcium-fortified plain soy yogurt typically comes closest to dairy in terms of nutrition. Most oat yogurts are lacking in protein, calcium, vitamin B12, or all of the above. Additionally, some oat yogurt brands only offer flavors that are high in added sugar.
Due to consumer interest, more and better soy-free dairy-free yogurt alternatives are appearing in stores. However, the dairy free yogurt options tend to trail the dairy free milk options. In other words, you can often find better dairy free milk options before the yogurts appear.
This is currently the case with oat milk versus oat yogurt. You can find oat milks that are fortified with protein and calcium. If you are vegan or otherwise don’t eat dairy, it is more important to replace the essential nutrients from dairy than it is to “eat clean.”
Unfortunately, food labels don’t always paint a full picture of the vitamins and minerals you are getting. This is even true for whole foods. For example, though spinach appears to be high in iron and calcium, these minerals are not very bioavailable from this food.
This doesn’t mean we should avoid eating grains and greens because they contain anti-nutrients. It does mean that we should pay even more attention to getting adequate nutrition (including through fortification) on dairy free and vegan diets. Don’t be afraid to read the label of your oat milk and oat yogurt to see what you’re paying for!
FAQs
How to make oat milk yogurt with probiotics?
You can make probiotic oat milk yogurt using yogurt with live, active cultures as a starter. Alternatively, you can use probiotic capsules as a starter. The general rule of thumb is to use the contents of one capsule per 4 cups of milk.
Can I make oat milk yogurt with dairy yogurt starter?
Yes, if your diet is not 100% plant based, you can use a dairy yogurt starter in this recipe. Make sure to thicken the oat milk first and let it cool before adding the yogurt starter.
How to make oat milk Greek yogurt recipe?
If you’ve thickened your oat milk yogurt enough, you can strain it for Greek oat yogurt. To strain, put it in a colander lined with cheesecloth over a bowl. Let the liquid drain off for 24 hours in the fridge.
Why is oat milk creamy?
Blended oatmeal absorbs water well, helping to make oatmilk thick and creamy. Additionally, many oat milks contain canola oil or other highly processed added oils for that rich, fatty mouthfeel.
Is oat milk yogurt gluten free?
Oats are naturally gluten-free but may become contaminated with gluten from other grains during processing. Oatly oat milk and Oatly oat yogurt are both certified gluten-free. Check the label of the oat milk yogurt you are buying for the most current nutrition information.
Is making homemade oat yogurt safe?
Yes, homemade yogurt is safe if made properly. Oat milk kept in the food safety “danger zone” of 41-140F for more than 1-2 hours should not be consumed. However, yogurt may be consumed after a long incubation period at this temperature. This is because the acidity in yogurt acts as a barrier to unwanted bacteria growth.
👩🏻🍳 Recipes Using Yogurt
Looking for more ways to use oat yogurt? Try one of these oat yogurt recipes (just sub out the dairy):
📖 Recipe Card
Watch How to Make It!
Oat Milk Yogurt Recipe (How to Make Oat Yogurt)
Ingredients
- 3½ cups oat milk (plain)
- 3 tablespoons plain oat yogurt with live, active cultures
- 2 teaspoons xanthan gum
Instructions
To Make Oat Milk Yogurt without a Yogurt Maker:
- Set a 4-cup wide-mouth canning jar (plus jar lid and rim) upright on a rack in a tall pot. Add other equipment that will touch the food (metal whisk, tablespoon, etc.).Fill the pot with water so that all of the equipment is completely submerged. The jar should be filled with water, with no air bubbles. The water level should be at least one inch (2.54 cm) above the top of the jar.
- Heat the filled pot. Boil the equipment for 10 minutes at lower altitudes. At higher elevations, boil one additional minute for each additional 1,000 feet. Remove all equipment from the pot using tongs and let cool to room temperature.Warning: failure to let the equipment cool sufficiently will result in a failed batch of yogurt! Sterilization information source.
- Heat the oat milk in a small pot to 180°F (82°C), whisking frequently. As it heats, scatter 1 teaspoon of xanthan gum over the milk at a time and whisk it in. You want it to be smooth, with no tapioca-like lumps.
- Use a candy thermometer to keep a careful eye on the temperature. Take the milk off of the heat when it reaches 180°F (82°C). The mixture will be bubbly and look thicker. This is about as thick as your oat yogurt will get. Make sure it is thickened to your liking before continuing with the recipe.
- Let the oat milk cool to the 100-110°F (37.8-43.3°C) range, whisking occasionally. Keep an eye on your candy thermometer to ensure the milk does not get too cool. You can speed this process by submerging the base of the pot in a shallow bowl of ice water.
- Remove 1 cup of warm oat milk from the pot and whisk the oat yogurt in. When the milk returns to a smooth consistency, whisk the 1 cup back into the pot.
- Pour your oat milk/yogurt mixture into a 4-cup wide-mouth canning jar. (The milk should still be in the 100-110°F/37.8-43.3°C range.) Put the lid and rim on the jar.
- Wrap the jar in a heating pad set to 110°F (43.3°C). (You may be able to find out which setting this is for your heating pad online.) Make sure that any auto-off settings on the pad are disabled.
- Allow the oat yogurt to incubate for 9 hours. It should still be in the 100-110°F (37.8-43.3°C) range at the end of the incubation period.
- After incubating, put the jar in the fridge to let it cool and thicken overnight (8-12 hours).
To Make Oat Milk Yogurt with an Instant Pot:
- Pour the oat milk into the Instant Pot. With the lid off, set the pot to the "yogurt, high temperature" setting. Slowly whisk in the xanthan gum, forming a smooth and thickened mixture.
- Allow the oat milk come to 180°F (82°C). Whisk it often so no skin forms across the top. Remove the inner pot of the Instant Pot from the heat when it reaches the right temperature.
- Let the oat milk cool on the counter to 105-110°F (40.6-43.3°C), whisking occasionally. After cooling, remove one cup of milk and add in the yogurt, whisking until smooth. Then whisk this yogurt mixture back into the larger pot of milk, and put the inner pot back in the Instant Pot.
- Put the lid on the Instant Pot but leave the vent open. Incubate oat yogurt for 9 hours using the “low yogurt” setting of the Instant Pot. (This is the “ferment” setting on the Ninja Foodi.)
- After the incubation period, put the yogurt in a glass mason jar with a lid. Refrigerate the oat yogurt overnight, and enjoy.
- Oat yogurt is pretty mild, and not very tangy. If the liquid separates after fermenting, simply stir it back in. The xanthan gum should help prevent it from separating too much.
Notes
💭 Expert Tips from Dietitian Summer Yule
This is a level 1 recipe (may help support fat loss). Plain oat yogurt is perfect as a snack or incorporated into a meal. If you want to keep your snack under 100 calories, stick to ½ cup portion. You could also use low calorie oat milk, though that will change the consistency of the finished product compared to full-fat oat milk. Is oat milk yogurt good for you? The nutrition information for your homemade oat milk yogurt depends on the oat milk and starter you use. It’s possible to make plain, unsweetened oat yogurt that is protein-packed. Similar to dairy milk yogurt, protein oat milk yogurt is an excellent choice for weight loss. Plain yogurt is one of the most versatile ingredients around, excellent in both sweet and savory recipes. Try it as a replacement for sour cream or mayo, or enjoy with some fruit and 1-2 tablespoons of nuts. Yum! Making your own oat yogurt is a great way to obtain products not available in stores that fit your dietary preferences. If you can’t find plain, calcium-fortified, protein oat yogurt in stores, why not make your own? Nutrition information is for one serving of oat yogurt made with Califia Farms protein oat milk (original) and Oatly plain oatgurt. Nutrition info for oat yogurt depends on ingredients you use.
nutrition info disclaimer
All recipes on this website may or may not be appropriate for you, depending on your medical needs and personal preferences. Consult with a registered dietitian or your physician if you need help determining the dietary pattern that may be best for you.
The nutrition information is an estimate provided as a courtesy. It will differ depending on the specific brands and ingredients that you use. Calorie information on food labels may be inaccurate, so please don't sweat the numbers too much.
"To taste" means to your preferences, which may have to be visual to follow food safety rules. Please don't eat undercooked food x
Nutrition
Join our community! Subscribe for all of the latest and greatest recipes, and follow me on Facebook, Pinterest, Instagram, and YouTube!

Hello! I'm Summer, a registered dietitian and home chef who loves to cook, eat, and create high quality content for you! Every recipe on this site has been tested by me to help ensure your success in the kitchen. All eaters are welcome here 🙂
Holly says
Interested in making dairy free yogurt in the IP, but it seems like a long time to run it for only 3.5 C. Can the recipe be doubled? If I made it on the stove and then transferred to the IP for the incubation period, could I jar it first? I can't have oats and my youngest can't have almonds or soy (and neither of us can have dairy), so I'm trying to figure out a way I could make a batch of oat and a batch of almond at the same time. I have an 8qt IP, so space isn't an issue. Also, in the IP instructions, you skip the sterilization part. That is still necessary, correct?
Summer Yule says
Hi Holly, great questions! Yes, you should be able to double the recipe. Some of the newer Instant Pots have the sterilize function, but older ones (including mine) don't. If you have it, it certainly doesn't hurt to use it. Otherwise, I'd just make sure the IP is very clean before starting this process; I haven't had an issue doing it this way.
For this question: "If I made it on the stove and then transferred to the IP for the incubation period, could I jar it first?" Do you mean you'd like to incubate an oatmilk and an almond milk batch together in separate jars in the Instant Pot? If so, I haven't personally tried it, but it looks like it works if you set the jars on a trivet like the person did here: https://marginmakingmom.com/instant-pot-yogurt-making/ In this case, I would sterilize and cool the jars before filling and incubating. There are pea milks and some other options out there that might fit both your diets if you don't want to do separate batches (and if everyone finds them tolerable taste-wise, of course). Happy yogurt making!
Sylva says
Hiya, Id like to try this recipe, however i only have a soy yogurt on hand.. would that work?
Thankss
Summer Yule says
Yes, soy yogurt should work well as long as it contains live active cultures 🙂
FloridaMike says
My wife was diagnosed with pancreatic cancer in August and we are trying to get our minds wrapped around how to eat going forward with the disease. They say you should be as close to vegan as possible without consuming processed foods, sugar, meat, or dairy products (which all feed the cancer). With that in mind, one of the things we are most worried about is what is surely going to happen when she starts chemo. The loss of weight & muscle mass has us scrambling for high-caloric meals including meal replacement shakes made from powder. With that in mind, can some of that type of powder be added to the milk in order to bulk up the caloric count? I was looking at using one of the pea-protein sugar-free types, but not being a chef or even "cooking without a recipe" kind of guy, I find myself sort of lost. I cannot find the answer using either Alexa or Google (other than it can be added AFTER the fact, but I don't see anything about MAKING the oatgurt with the powder already mixed in or how it will react to culturing). I need to do this right so here I am asking for your help (and will probably cross-post to some of my other favorite cooking sites). Thanx!
PS: I just tried the first batch and it came out almost as runny as it started so I guess it's back to the store for more oatmilk.
Summer Yule says
Hi Mike, I'm so very sorry to hear about your wife's cancer. As an RD, I'm wondering where you got this information specifically, "They say you should be as close to vegan as possible without consuming processed foods, sugar, meat, or dairy products (which all feed the cancer)." I'm not sure how much you've poked around the site, but I was a vegan for over a decade before getting breast cancer in my 20s with no family history. I've been cancer-free for over 14 years after changing to a fairly non-restrictive omnivorous diet (but as much as I would like answers, I can't say for sure how much diet changes played a role). I highly encourage your wife to visit with an oncology dietitian in your area. Your insurance may cover this and they can make individualized recommendations for protein powders and so on after reviewing your wife's medical history. Prayers for you and your family ❤️ Summer P.S. Soy milk thickens into yogurt much more easily than oatmilk and naturally contains much more protein, so that might be one solution for you.
Julie says
Hi, how to add calcium to fortified the yoghurt ? Thanks
Summer Yule says
Hi Julie, great question! The easiest way is to use an oat milk that's already fortified with the amount of calcium you want. If you don't have a good option available in your area, you can stir a small amount of liquid calcium supplement into the finished chilled yogurt, just like you might do with a yogurt from the store.
Megan P says
How would I use a different thickener than Xantham Gum?
My toddler is allergic to dairy and tree nuts... the only Xantham Gum I can find locally is made by Bob's Red Mill and "main contain" tree nuts, so I avoid that brand.
I'm having trouble finding oatmilk yogurt in stores reliability, so I'd like to start making it.
Summer Yule says
Hi Megan, great question! Chia seeds can be used as a thickener if you don't mind the yogurt having that chia pudding texture. Agar agar may also work, but that can be harder to find than the xanthan gum (at least in my area). If your family isn't vegetarian, you could also experiment with gelatin as a thickener. I haven't tried these, so you may need to change the amounts used compared to the xanthan gum. The mixture isn't heated to a high enough temp to allow cornstarch to thicken it well, so I'd skip that one. Good luck!
Kris h says
Would this recipe work using a traditional yogurt machine? Almost all the recipes I've found don't mention an actual yogurt maker and the ones that do are for individual cups and mine is a regular larger "one pot" machine.
I'd love to try this and really appreciate your sharing all of the info
Summer Yule says
Hi Kris, really great question! Yes, I think it would work as long as your yogurt machine can bring the mixture to the temperatures noted in the recipe. Thank you for visiting 🙂
Summer Yule says
Hi Mark, I haven't tried the oven method, but what an awesome idea! Do you heat the oven a little bit first, or do you find that the heat from the light is enough to keep the milk at a steady temperature?
Mark says
The recipe I used only used the oven light , but I've also seen a recipe where you turn the oven on to the lowest temperature while you're getting the milk ready then turn it off and leave the light on before putting in the milk.
Summer Yule says
I'll definitely have to try it! Thanks so much for the tip!
Mark says
Hi! Have you ever tried the incubation method of putting the yogurt in the oven with just the oven light on? If so, what do you think of it compared to the heating pad method? I've only done the oven light method.